Tuesday, September 30, 2014

Taig Mill Motor Mount

I made a mount for a new motor for my Taig milling machine. The motors that taig offers (I bought both) are overpowered and too heavy for the mill. Their large mass cantilevered out from the mill head amplifies chatter, especially when cutting along the Y axis. It puts a lot of strain on the leadscrew and head. The weight deflects the head downwards, and it adds another dimension of difficulty when trying to hold tolerances.

For a long time I powered the mill with a small used 230v fan motor running on 115v, which was superior in every way but power. It is German made and has very low vibration. I only used one pulley ratio with it, around 400 RPM. The low speed is well suited to the mill; it keeps chatter at bay. The motor could be stalled with a 1/8" end mill though, to get an idea for how weak it was. In the past, I have regularly switched between all three motors. The fan motor couldn't drill a 1/4" hole and I'm pretty sure a file can make chips faster, but it left the best surface finish. The cheap motor from Taig had terrible vibration which transferred directly to the work, but had the speed and power to spin a 1/4" drill. The upgrade motor from Taig was a compromise between the two, but it spun so fast that it struggled with cutters over 3/16".

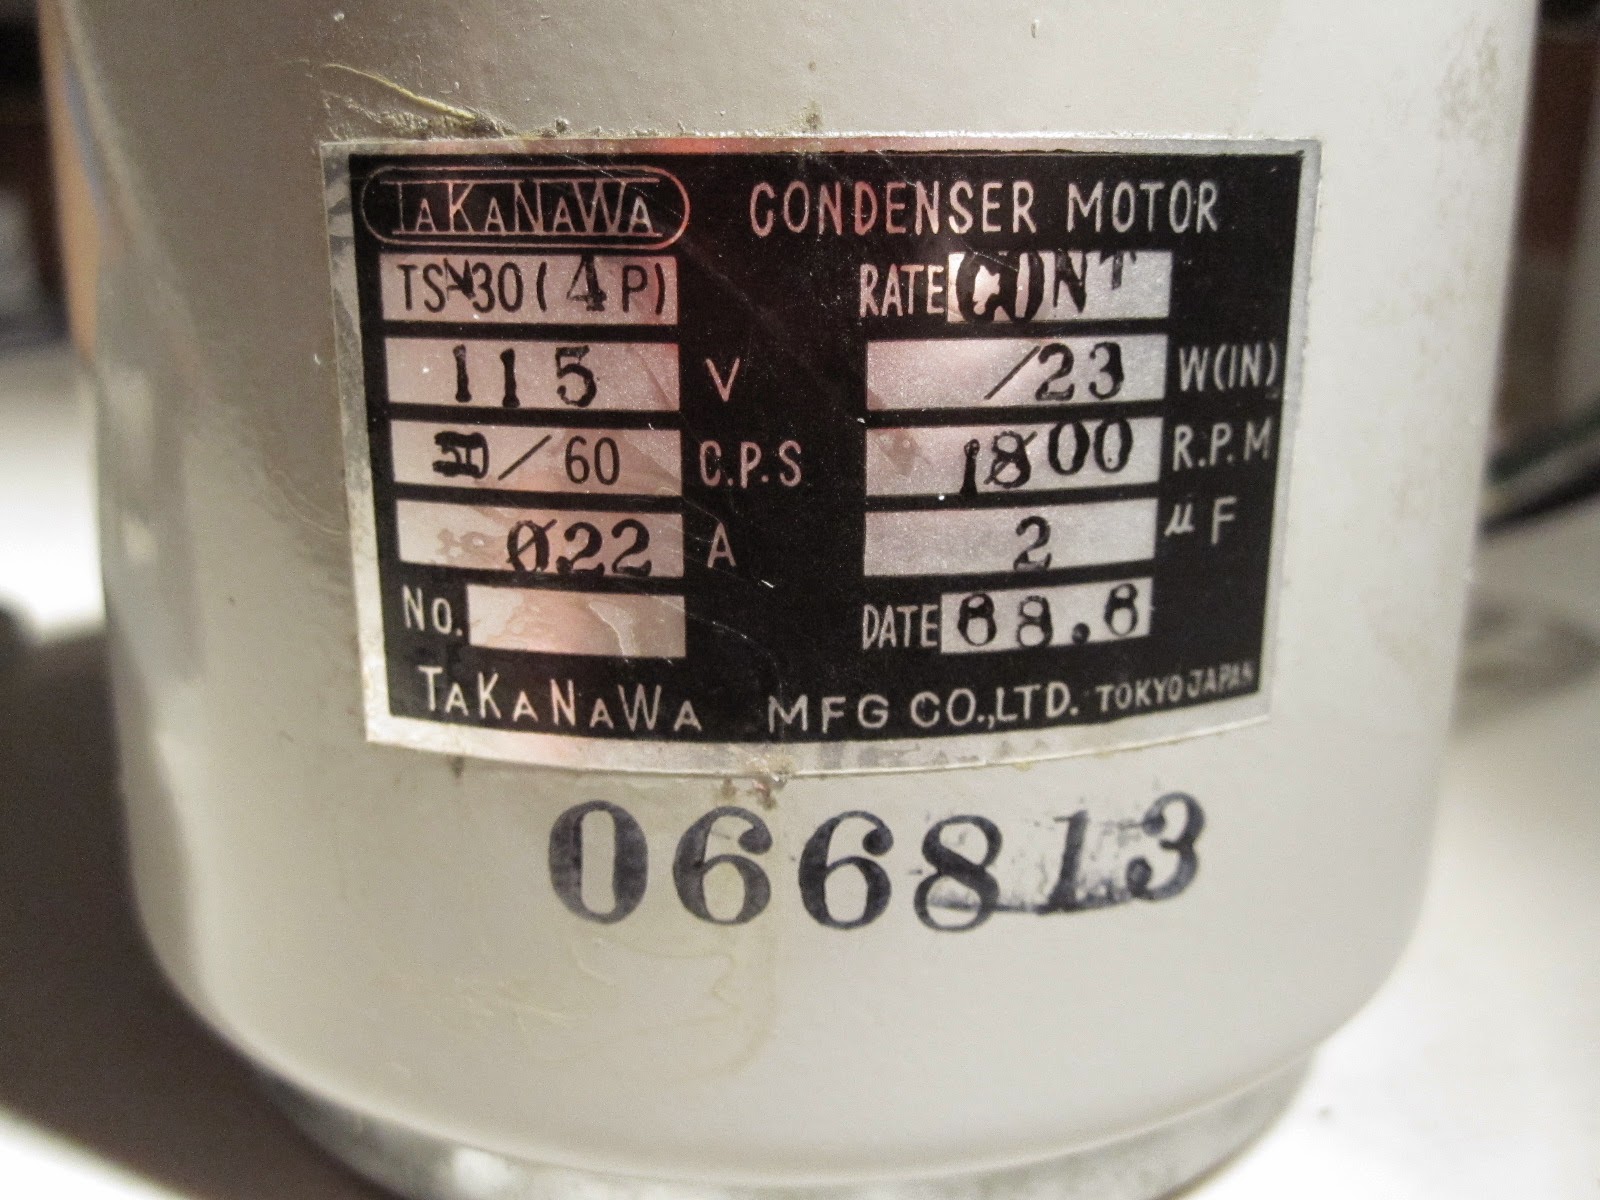
As much as I want to be done fighting the Taig mill every step of the way, I don't know what I'd do without it. Another mill is out of the question. I decided it was worth putting a bit of time into getting the motor situation rectified. I bought a Takanawa condenser motor from an electronics surplus site for $20. I browsed all the AC motors of maybe five surplus sites, and decided on this one.


It looked like it ran smoothly, had a relatively low RPM, and it was cheap. I confirmed today that it does indeed run very nicely. It probably has twice the torque of the fan motor I was using previously. I'm going to run it with a flat belt and crowned pulleys instead of the Taig V belt, in interest of preserving as much of the motor energy as possible. The speed will be reduced to 400 RPM or so.

Below is the bracket that attaches to the side of the mill head:


And here is the plate that attaches the motor and allows it to slide for tensioning the belt:


See the motor mounted on the Taig Head here.

I will likely make another post when the pulleys and wiring are complete. The run capacitors are going inside a PVC pipe enclosure. For shits and a good time, I cleaned up a PVC end cap:


It looks nice but takes a while. These are my tools:


Friday, September 26, 2014

Awl Mk. III, Number One


Yesterday I finished the first awl of this version. Hopefully the pictures do it justice.


Everything is polished, adjusted, and fit to perfection. It has many improvements over Mk. II:

-Needle bar is more adjustable to fit your hand, and easily so
-Needle locking screw is recessed so thread cannot catch on it
-Spring is held centered by counterbores on thread tensioner, so it cannot interfere with the threads
-Knurled brass thumbscrew to retain bobbin holder
-Bobbin holder head is smaller to allow for easier thread rewinding
-All corrosion resistant metals: 6061 alu.; 302, 303, and 316 ss.; and 360 brass.

It retained the little details of Mk. II that I liked:

-Stainless insert for bobbin holder thumbscrew
-Steel tube where thread exits bobbin recess
-Dowel pin to prevent thread tensioner from spinning
-Raised section on tensioner to keep sewing thread from interfering with threaded post.
-DBx1 needle and standard industrial bobbin


I'm selling these for $220 each. I will repair them as long as I am able in the unlikely event that it fails. They will be posted on my Etsy store.

Wednesday, September 24, 2014

Bookbinding Awl

For a friend. Alder body. PVC ferrule because it's what was lying around. M2 steel point, grooved, pressed, and epoxied in.


Awl of the Pictures

 The first awl should be done in the next few days. Here are pictures I've taken along the way.


Friday, September 19, 2014

Wooden People

I saw this:


Then made this:


And some more:


...which are being sent to someone who can paint better than copying a still from an anime show. The darker ones are turned from alder from the firewood pile. The lighter one was made from the negative space of the futsal flag stand.


This is the awl I plan on keeping. It weighs about ten pounds (kidding, it's heavy though). On every awl, the tops of the setscrews are turned flat, the tips of the screws are all filed or turned to the correct shape, every corner is rounded or chamfered as well as my eye can tell. The aluminum ones are all nearly identical, but there are small differences. I try to match parts to the awls. The brass one has a different profile on the back and a longer tube for the thread, and it will have a different (less adjustable) needle bar out of preference. 


These are templates for pants patches. I'm patching pants. The top pair has maybe five holes. I will use the awl on them as soon as it's done.


Thursday, September 11, 2014

Stool and Scribble


I drew the plant that lives in my room. There's an origami dragon that is perched atop it.


They are building a house next door. I got some cutoffs from the dumpster and made myself a stool. It's not very pretty but I think it'll replace the guitar amp I've been sitting on just fine.


Well this shot is honest...


Here it is with the cushion, which was actually made two years ago as a 'plate tectonic' model for my younger brother.


Monday, September 8, 2014

Spin Tops


I made these about a year ago, but I haven't posted them till now for some reason.


One sharp tip, one blunt one. I made them out of olive wood which was once a sidewalk tree. I found it in a mulch pile and took its trunk.


The 'button' is machined from acetal.