Thursday, September 29, 2016

Positioner (drawing)


I started thinking about how to make an easily adjustable wooden arm, in the style of an indicator holder. The original idea was to use it for holding a dust collector tube at the lathe, so the tube could be moved right where it is needed. On further thought, a strong and easily adjustable arm is useful for many things: a camera mount, a lamp or flashlight holder, a 'helping hand' for soldering or welding, a microphone mount, to name a few. I've seen them speckled around the international space station in photos, as laptop or clipboard holders. 

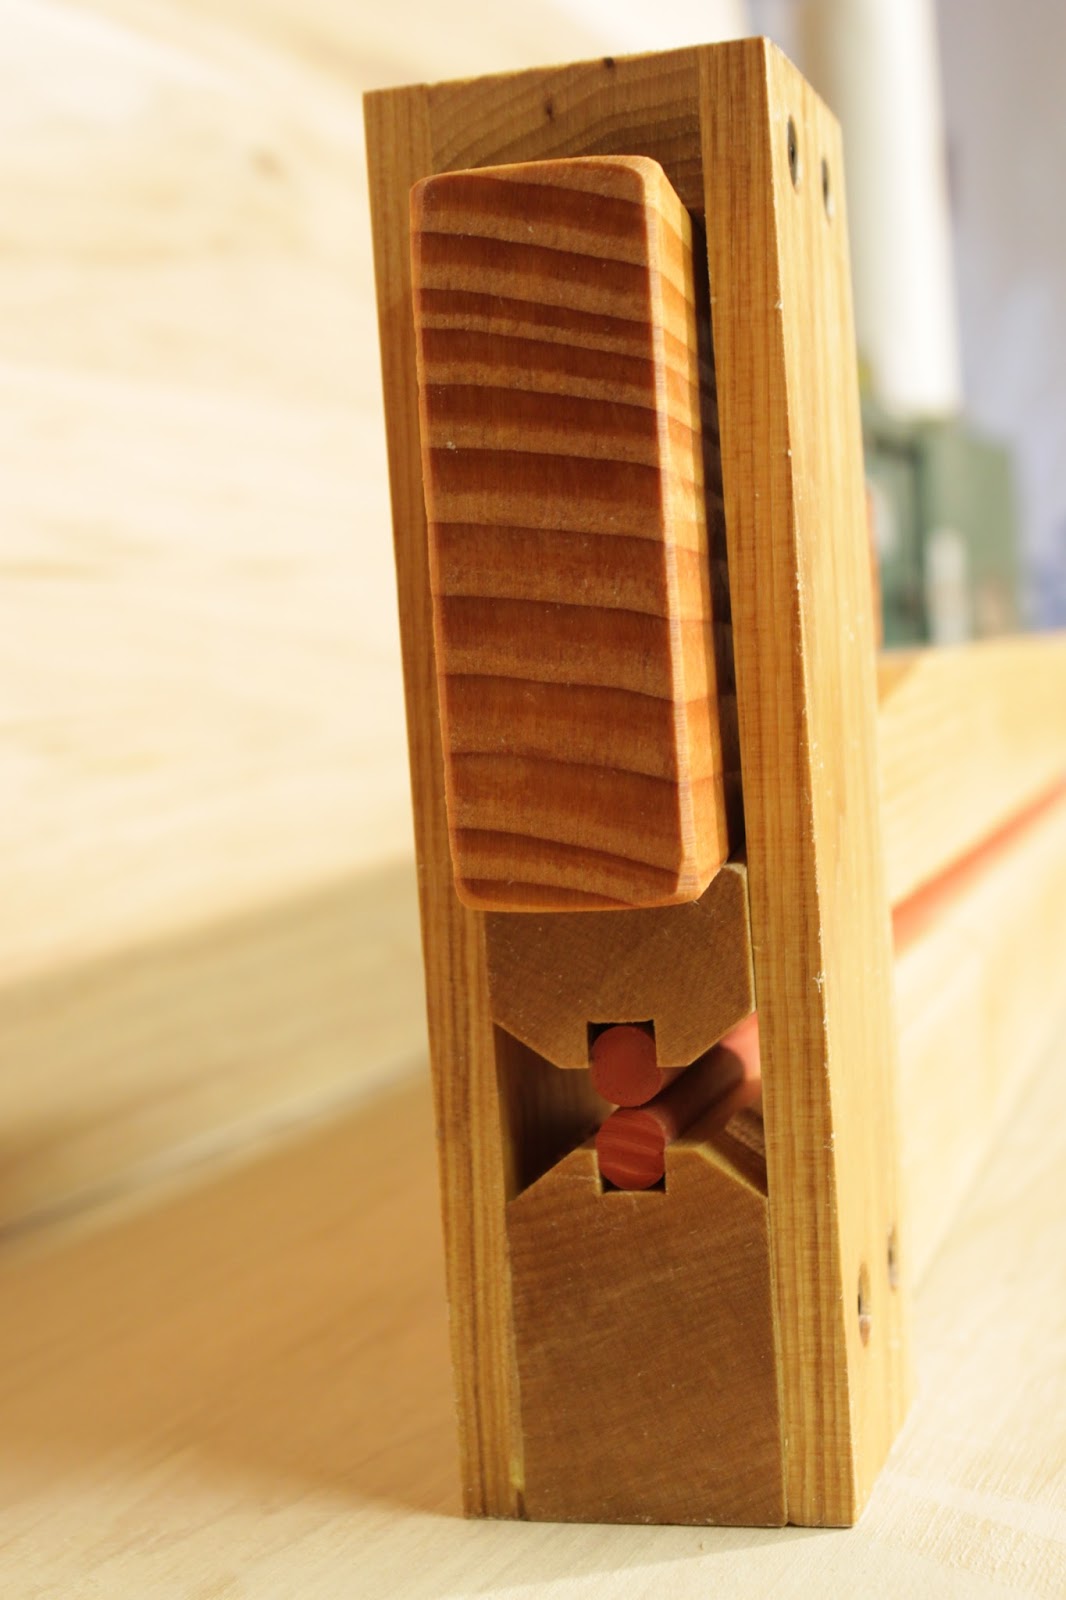
The Noga style holders are a great design, but would be difficult to make of wood. They're also not particularly suited to larger sizes. So I instead took a hint from a milling machine vise stop I once saw.

This style is much better suited to being made of wood. They keep some of the multi-axis locking magic of the Noga style. Two screws will quickly lock the working end anywhere within the reach of the arm (as opposed to just one on the Noga).


I drew a sketch of what a wooden one would look like. The body of it could fit in a hand or be a meter long. The pivot pins would be brass or stainless steel. The lower pivot could be locked with a thumbscrew on the underside, or a hex key from the top side. Multiple arms could be connected to reach around in tight spaces. Tubing could be used for the 'forearm' segment, to allow wires or air or whiskey to flow through.

As with all the drawings on here, if you want one made I'd be glad to make it come to life-

Saturday, September 24, 2016

Panel Alignment Clamps, Operational Bandsaw


My dad often glues together large thin wooden panels to make boxes, drawers, and the like. They range from 1/4" thick to around 1". With panels so thin, they are prone to misalignment while gluing. The panels are typically 3-6 feet long; any bow in the wood will definitely create a step between the pieces. Biscuit joints are a potential solution, but in our application they make more problems than they solve.

Seeing how much material and time was wasted by having to sand down the steps between boards, I decided to make him some clamps which would center the boards across the thickness. I wanted them to be strong enough to be able to bend thinner boards closer to straight, and quick to use. Time is of the essence when gluing many faces together at once.


This end (above) has a rod end which pivots up into the slot on the top, to apply pressure. The nut is temporary and will be replaced with a knob/thumb nut.


This end has a wedge, which almost instantly sets that end of the bar to the thickness of the boards being clamped. I only used a wedge on one end so that the operator can use the wedged end as a pivot and apply the most pressure with the threaded end.

You can also see the profile of the clamping faces. They have round silicone rods pushed into the grooves. This accommodates slight variations in thickness of the boards, and the glue doesn't stick to them when it dries. The sides are bevelled to help keep the glue off.


Above is clamping a few pieces for illustration, a cross-section if you will. Below, the clamp is disassembled. The rod-end end slides under the clearance below the panel to be clamped, which is held up by the beams of the 'regular' clamps. A picture is worth a very confusing description... hold tight-


Below shows how the clamp interacts with the beam clamps. It can be applied and removed without moving the beam clamps, by sliding it in underneath.


Now for odds and ends-

A dust hose clamp-


 The operational bandsaw! Not the safest but it's already being used a lot.


I attached the motor with this sliding/locking sub plate. It slides in and out to tension the belt.


Wednesday, September 14, 2016

Woodworking in an Apartment

This is an unusual post for this blog, but the rest of the internet doesn't seem to have much good information on the subject of woodworking in an apartment, living room, or similar. I've spent a fair amount of time woodworking in a 75 sq. foot dorm, and this blog was started when I was working in the garage of an apartment. I'm far from an expert on the subject, but perhaps my experience can help a beginning woodworker out.

There are three main considerations when working in an apartment: noise, dust, and physical space used. Being limited by these things is certainly a handicap, but it can be minimized.

I'll just list my thoughts for faster reading-

Noise

  • Hand powered tools are quietest, with exception of hatchet and hammer
  • Massive bench or chopping block has more inertia and greatly reduces sound, while making work more enjoyable
    • Sandbags are cheap per weight and good at dampening vibration
  • Spring-pole or treadle lathe can replace powered lathe
  • Some of the quieter electric tools are quiet enough for an apartment. Italicized are the ones I feel offer the most return on investment, in terms of time saved. From quietest to loudest:
    • Drill press
    • Wood lathe
    • Metal/engineering lathe
    • Hand drill 
    • Band saw
    • Scroll saw
    • Random orbit sander
    • Spindle sander
    • Small dust collector
    • Variable speed router on low speed (router table?)
  • For powered tools, often heavier=quieter
  • Small power tools are generally the loudest due to motor type and light construction
  • Planer and table saws are very efficient tools, but among the loudest
    • Use outdoors; else
    • Set up band saw carefully to keep hand planing at a minimum
  • Shop built power tools can be made to run more quietly than their commercially available counterparts
    • Wood is relatively good at damping vibration
    • Machines can be modified to run more slowly with pulleys or VFD's
    • High quality motors can be used which are generally quieter and better balanced than cheap ones
Dust
  • Best collected at source with small dust collector(s) or household vacuum
    • Festool dust vacuums are moderately noisy
    • Shop vacuums also loud
  • Ambient air filters are quiet and effective
  • Large shavings fall out of the air and are easily cleaned
  • Hardness of cutting tool is inversely proportional to dust size
    • Sanding creates the finest dust, best kept to minimum
    • Carbide tools (circular saw, table saw, power plane) produce fine dist
    • HSS tools (power lathe tools, jointer, drill press) produce medium dust
    • Tool steel edges (chisel, plane, pole lathe tools, scraper) produce the coarsest dust
  • Green (dried... less) woodworking produces largest, most easily cleaned shavings
    • Splitting produces no dust
    • You will be cool (he said)
    • Spoon and bowl carving require minimal tools
  • Plywood is best worked with carbide due to abrasive nature; produces relatively foul dust
  • Douglas fir and wood with knots is frustrating and slow to work by hand
    • Best worked with fine-dust-producing tools (table saw, router, etc)
  • MDF, phenolic, and composites yield the most irritating and difficult-to-clean dust
  • HDPE plastic cuts nicely and makes large chips without fumes
  • Dustiest, loudest tools should be easily portable for taking outdoors
  • If machining metals, chips can be difficult to contain since they stick to clothing and fly far
    • Not pleasant to find in a bed
Physical Space
  • Tools can be stored densely, whereas housemates may complain if stored similarly
  • Wood storage uses up space quickly, especially sheet goods
  • Use vertical space efficiently
  • Band saw and drill press have small footprint 
If you have any revisions, additions, or questions, you can email me-

Happy sawing. May your neighbors be patient and forgiving.

Tuesday, September 6, 2016

Bandsaw in Progress


I've been slowly working on building a wooden bandsaw for the last eight months. It's based on the plans by Matthias Wandel. Instead of building it to save the cost of a commercially available bandsaw, we are building it to have a really nice and powerful machine.

Here were the rough douglas fir pieces for the frame:


Matthias said his frame was under 30 lbs. Apparently the douglas fir is denser than the spruce he used since ours was definitely not under 30 lbs. Closer to 50 lbs. This is not a portable machine; I think it will end up at around double the weight of his, and definitely heavier than our cast iron one.


Above, I was turning the wheels. I ground two beater chisels with an ~80 degree included angle and turned it fairly slowly, but I probably had to sharpen them 30 times to finish the wheels. I also used an angle grinder with a flap disc on the (fast) spinning wheels to adjust the crown.

The setup was nicer in ways than my 'real' wood lathe, powered by that shiny new three-phase baldor. Complete with remote switch visible on the right. I thought a 2hp 3~ motor with VFD would be better than a single phase one. In any case it's an upgrade from the open frame 115v 3/4hp motor on our existing bandsaw.


Above is the caliper I made to measure the wheels as I turned them.

Below is where I'm at currently. I've still got to mount the motor, mount the table, and build the blade guides before the saw is usable. The blade guides are lignum vitae for side-to-side movement and a ball bearing for the rear.


You can make out a metal taper pin on the left side of the photo below. This is how I aligned the bearing blocks before and after glue-up. The bearing blocks were turned concentric on the lathe, but that didn't make them more attractive. I was pretty liberal with the glue.


Maybe skill, probably luck: after I mounted the wheels the shaft mounts needed almost no adjustment. A single .006" aluminum shim made the wheels as planar as I can measure. Spinning the wheels forwards or backwards, the blade does not visibly deviate. The tensioner slides very smoothly with no play--wood is pretty forgiving here though. I'll wax it before taking it out on the waves.


Here's the tensioning handle turned of cherry. I'll turn a prettier crank arm someday, but this works for now. I used a 1/2" T-bolt instead of a 3/8" carriage bolt for good luck, and a bronze bushing for the nut to turn on.


The motor will be mounted to a sliding piece, which will tension the belt with a wooden wedge.

I'll try to post more photos when it's up and running, and then again when it's "finished".

Saturday, September 3, 2016

Another Chopstick Jig, Sprinkler Stand


For making hexagonal chopsticks. Made of beech, on commission. Nicest one yet, very hefty and accurate.


I also made a collapsible sprinkler tripod:


It's been sprinkling away the last month or so. I made it because our usual reciprocating sprinklers only lasted about a year each. This style should be a lot more durable, and it covers a wider area too.

I've been posting less because I'm spending more time building this mess, and doing larger projects. I will share them all when they are complete. Slow and steady-