Monday, July 14, 2014

Character Drawings

My older brother decided to make a video about me for his class, so I drew some paper characters for him:


I love the sex pistols poster.


I used Noodler's ink in a cheap ruling pen/inking compass I got off of ebay a few months ago. The tip of the ruling pen was ground really poorly when I got it, so I ground it and polished it till it was good enough. It's still nowhere close to the quality my Paragon Wytetip R, also from ebay. The Wytetip has hinged stainless steel tines with HSS points, and an ebony handle. I paid peanuts for it, but it's priceless to me. One of the prettiest tools I have.


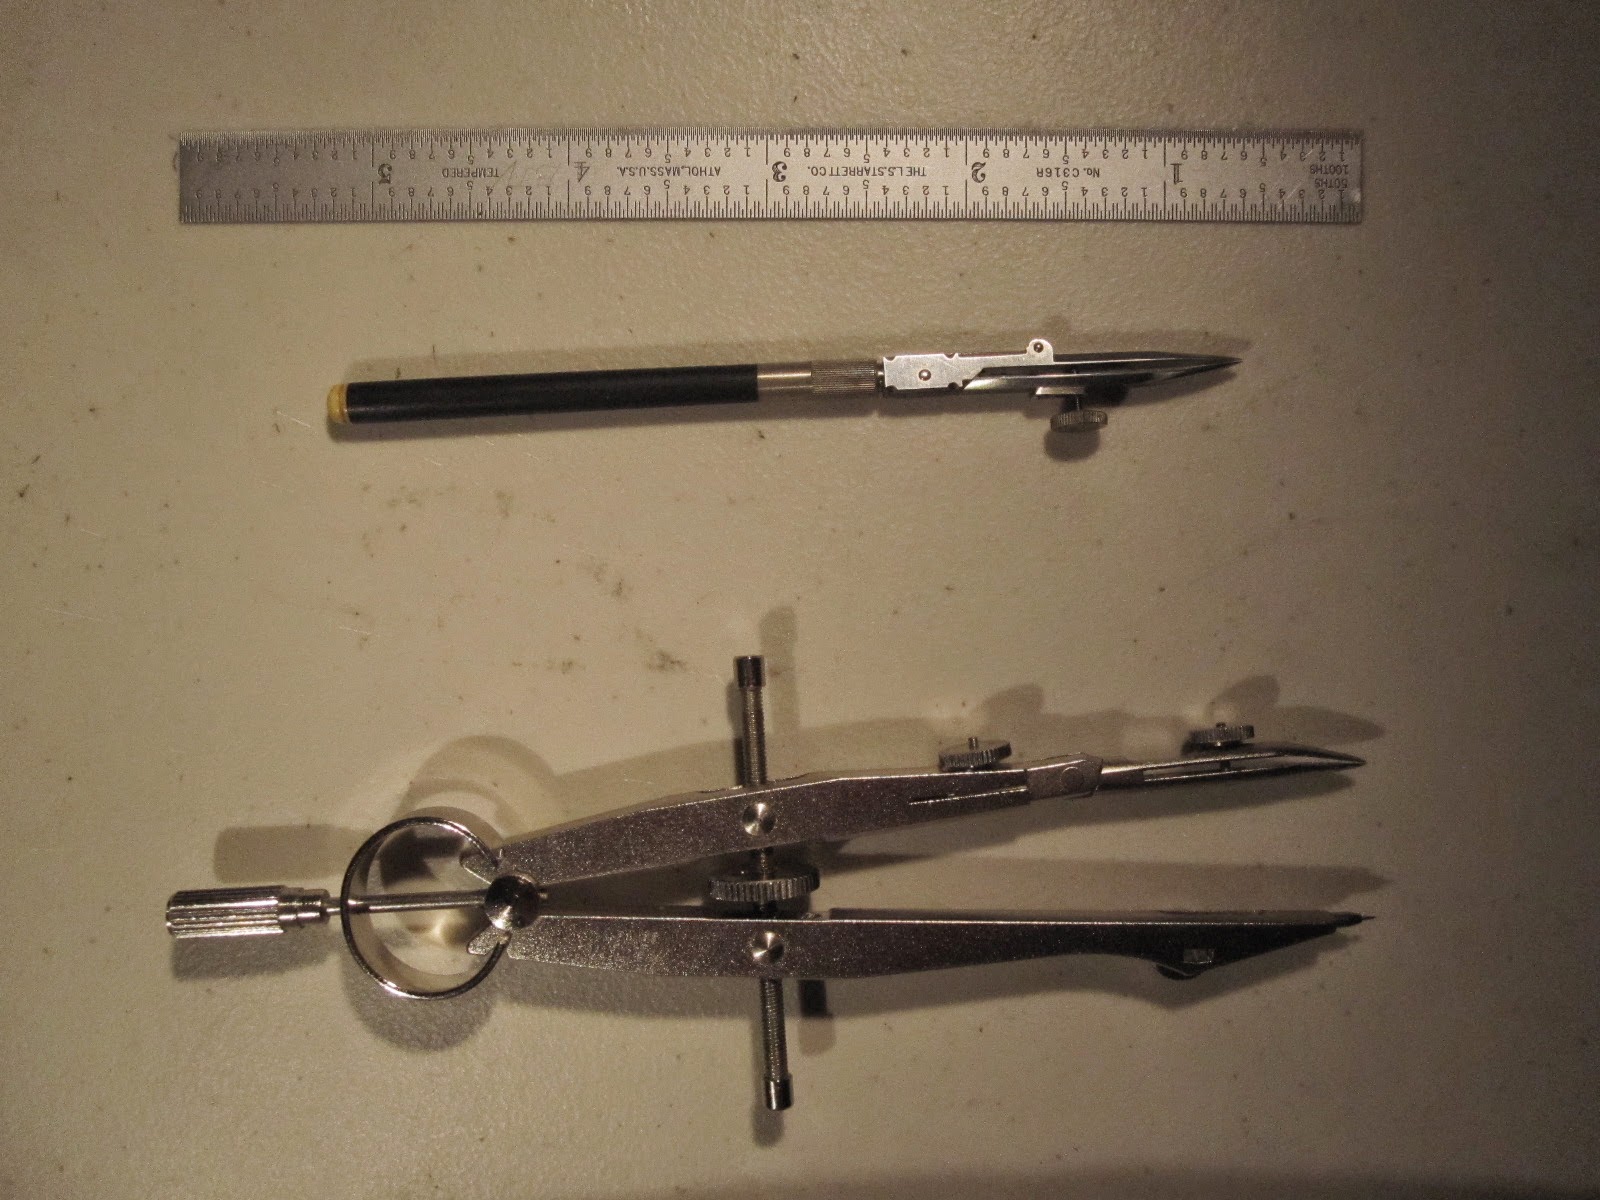
Wytetip is in the middle. The compass is branded 'Martin' and made in Germany. Nothing to write home about, but I like its all-metal construction. I've got the 2mm graphite holder for it as well, but I have another compass dedicated for that.

Below is the re-ground compass inking tip. I didn't think of taking a 'before' picture, but I can assure you that it was pretty bad.


I hope I can make an inked drawing one day worthy of the Wytetip R. I think I'm capable of it now, but I'm waiting for a good reason to make a nice blueprint. Working with ruling pens is not too hard; however, making a complex inked drawing without bleeding or mistakes is a challenge. I think they had it easier back in the day, with access to less absorbent paper and more applicable tooling in general. Inking a technical drawing is such a weird thing to do in 2014... I'm not going to spew any spack about how it's an important skill or useful one. That doesn't mean the result is worthless though. It's pretty, timeless, it has a lot more soul than something off the printer. The Wytetip ruling pen is bound to a life of mistakes and perhaps a misguided hobby, but lying next to a fine-tip Sharpie its value is very apparent.

Wednesday, July 2, 2014

Futsal Goals

I made these goals and build instructions for my dad a couple months ago, but I thought I'd share them. I made a total of six goals, in varying sizes.

Plans for large goal
Plans for small goal

I drew both diagrams in inkscape.

When I built them, I attached the nets with 'strap eyes,' soft-material blind rivets, and 1/4" bungee cord instead of velcro. This takes a lot of stress off the net.


The rivets have a flaring back side as you can see in the picture below. I found that the mandrel dug into the ABS pipe if I pulled them to the point of snapping, so I just pulled the mandrels till the hooks were secure. I then punched the intact mandrels out the back ('blind') side. This is the result:

The project had some interesting aspects. For one, I lived in San Diego and the goals were destined to be used in NW WA, about 1300 miles away. So I got the components, cut and painted the tubes, attached the hooks, test fitted everything, packed it up, and mailed it via FedEx. They were cemented together in WA.

I lived about three blocks from Home Depot then, and didn't have access to a car. After buying the parts there, I pushed the cart with all 14 tubes right on home. After that spectacle, Home Depot didn't let me borrow their cart again. So for the smaller goals I tied the tubes up with rope and slung them over my shoulder.

Here is the completed (but not glued) large goal sitting in the apartment living room.


My brother who had a van helped deliver the packaged goal to the FedEx store. However, he was out of town when it was time to mail the little goals. The cut tubes were much bulkier than the full length ones, so I couldn't carry them on my shoulder. I didn't have a cart or hand truck of my own, but I do have a nice johnson bar left from the time I got a free old horizontal mill from work (I gave it away eventually). I tied all the packages of tubes and fittings to it, and wheeled it four blocks to the FedEx store after dark. It is such a weird memory.

Anyway, a bit of manual drafting:

Tuesday, July 1, 2014

Unit Origami Regular Icosahedron


I got the book 'Unit Polyhedron Origami' by Tomoko Fuse from the library. This is on page 95. I made it out of 3 sheets of 32lb paper. The sheets are half-squares, 4.25 x 2.125". It only took about two hours to make. It's hanging above my bed.


Friday, June 27, 2014

Air Supply Video


Details at: http://aerialcopper.blogspot.com/2014/05/air-supply.html

Monday, June 23, 2014

Typewriter Cover

I just bought an Olympia SM9. I thought it should have a dust cover like the rest of the nice machines. As my friend jokes, 'so I can tuck them in at night.'

I think the fabric pattern is kind of retro, it matches the typewriter.


Friday, June 20, 2014

Rear Rack on Catrike Expedition

I recently finished installing a rear rack on a 2014 Catrike Expedition recumbent trike. Since it's an unusual configuration of dropouts/frame/fender, it took some research to figure out how to make it work. I'm sharing the configuration I came up with to help those who searched the rest of the internet with little avail. Once you've got the parts, installing the rack isn't too difficult.

Tools needed:
  • Hex keys: 3, 4, 5mm
  • 8mm combination wrench, or an adjustable wrench would probably get the job done.
  • Loctite if you're that kind of person (I definitely am)
  • Your method of choice for shortening 1/8" stainless steel rods
    I used:
    • Hacksaw
    • Vise
    • File
I follow the list items with the McMaster Carr item number, when applicable.
Parts needed:
  • M5 x 35mm stainless SHCS (91292A193)
  • M5 x 25mm stainless SHCS (91292A129)
  • M5 x 10mm (anywhere betw. 6mm and 10mm is okay) unthreaded spacer, 12mm+ OD, Plastic or Stainless will work (92871A762)
  • M5 nylon insert locknuts (94205A240)
  • M5 plastic washers (95610A560)
The rack and mounting hardware came from bikebagshop.com. You can probably find it elsewhere.
The panniers we chose were the Ortlieb Back Roller Classic. They fit well on the rack, can be removed easily, are really well made, and aren't too expensive. The two of them combined will hold everything and the kitchen sink.

Assembly:

The fork eyelet adapters are attached right and left of the headrest support mount. The rack arms are just long enough to reach them. The rack is bolted to the dropout eyelets with the included plastic spacers between the rack and the dropout.

The M5x25mm SHCS's are used in conjunction with the additional spacers, washers, and locknuts to attach the fender support rods to the inside of the top holes on the rack. The support rods will need to be shortened about 3/4" each so that the fender follows the curve of the tire correctly.


Presents

These are some things I've made for friends/family in the last year: