Monday, June 23, 2014

Typewriter Cover

I just bought an Olympia SM9. I thought it should have a dust cover like the rest of the nice machines. As my friend jokes, 'so I can tuck them in at night.'

I think the fabric pattern is kind of retro, it matches the typewriter.


Friday, June 20, 2014

Rear Rack on Catrike Expedition

I recently finished installing a rear rack on a 2014 Catrike Expedition recumbent trike. Since it's an unusual configuration of dropouts/frame/fender, it took some research to figure out how to make it work. I'm sharing the configuration I came up with to help those who searched the rest of the internet with little avail. Once you've got the parts, installing the rack isn't too difficult.

Tools needed:
  • Hex keys: 3, 4, 5mm
  • 8mm combination wrench, or an adjustable wrench would probably get the job done.
  • Loctite if you're that kind of person (I definitely am)
  • Your method of choice for shortening 1/8" stainless steel rods
    I used:
    • Hacksaw
    • Vise
    • File
I follow the list items with the McMaster Carr item number, when applicable.
Parts needed:
  • M5 x 35mm stainless SHCS (91292A193)
  • M5 x 25mm stainless SHCS (91292A129)
  • M5 x 10mm (anywhere betw. 6mm and 10mm is okay) unthreaded spacer, 12mm+ OD, Plastic or Stainless will work (92871A762)
  • M5 nylon insert locknuts (94205A240)
  • M5 plastic washers (95610A560)
The rack and mounting hardware came from bikebagshop.com. You can probably find it elsewhere.
The panniers we chose were the Ortlieb Back Roller Classic. They fit well on the rack, can be removed easily, are really well made, and aren't too expensive. The two of them combined will hold everything and the kitchen sink.

Assembly:

The fork eyelet adapters are attached right and left of the headrest support mount. The rack arms are just long enough to reach them. The rack is bolted to the dropout eyelets with the included plastic spacers between the rack and the dropout.

The M5x25mm SHCS's are used in conjunction with the additional spacers, washers, and locknuts to attach the fender support rods to the inside of the top holes on the rack. The support rods will need to be shortened about 3/4" each so that the fender follows the curve of the tire correctly.


Presents

These are some things I've made for friends/family in the last year:


Sunday, May 11, 2014

Air Supply

A year ago I wanted an airbrush... and the bike pump clamped to my workbench for clearing chips was looking pretty crude. The small and affordable compressors for airbrushing don't look like they're meant to be taken seriously. So I put together this thing:


It might not look like it's meant to be taken seriously either, but the TSA would probably tell me otherwise! It worked well. Making it was a slight gamble; I didn't know exactly how hard it'd be to fill with the bike pump. There aren't many accounts on the internet of people powering their airbrush themselves. I might end up spending a lot more time pumping than airbrushing, but I assumed I put out more usable watts pumping a bike pump than the little airbrush compressors did. Turns out keeping up with the airbrush is not difficult at all! When I first put the compressor together, I timed the pumping/airbrushing. I forgot the exact numbers, but if I spend an hour with the airbrush I might fill the tanks to 120 psi two or three times. It takes about two minutes and 60 pump strokes to fill once.

The airbrush is an Iwata HP-C Plus which has a small nozzle and likes about 10 psi. If you'd like to try the same thing, keep that in mind. The larger, meaner airbrushes would be much harder to keep up with.

The air tanks are polypropylene, rated to 125 psi, from Andymark. The four of them together contain 144 cubic inches. I thought about making them out of much cheaper PVC or ABS but I wouldn't trust either. 30 psi might be okay, but in that case the compressor would have to be ~four times as big. The filter, ball valve, fill valve, and regulator are rated to 150 psi or more. Max. output of the regulator is 60 psi.

I only had a handsaw and block plane, so the sewn case was the best I could do. It had to lean against something in use. The fittings were brass compression fittings, which was my biggest mistake. They were so fiddly to put together and they leaked. I fiddled and fiddled until finally it passed the bubbles-under-water test. Eight months later it was leaking audibly, and the tubes were deformed at the connections.

It's normal for electric-powered compressors to leak a little. I think of all the aggressively leaking air fittings at work... but the thought of my blood, sweat, and toil silently creeping out into my room was frustrating.

For the rebuild, I didn't mess around. I bought D.O.T.-approved push-to-connect fittings and tubing this time. They are nice. This is the frame. I made it with a jigsaw, router, and drill from some sticks of fir trim that weren't trim anymore. It's sloppy, but not as sloppy as the bag the tanks were in before!


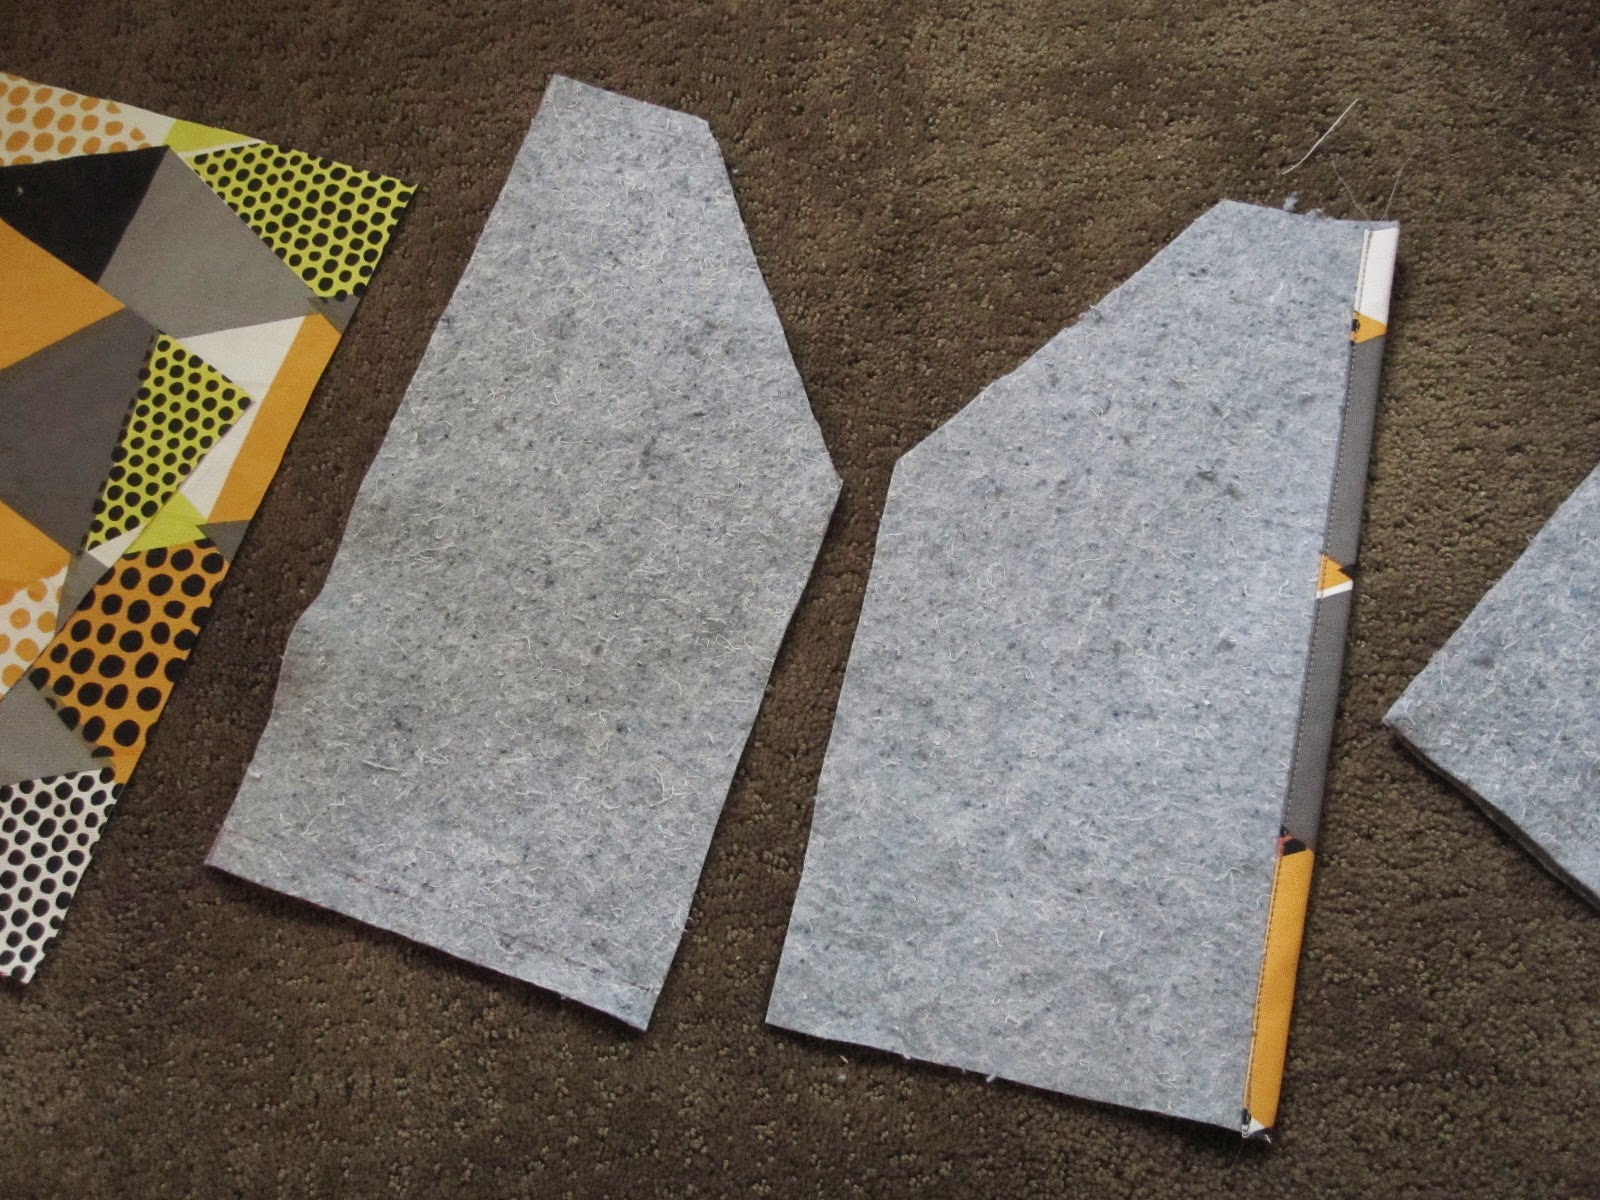
The holes are for securing the tanks and components to the frame with 1/8" nylon cord. The regulator, filter, and ball valve are really awkward shapes. I made brackets for them with foam board from discarded signs.


Here are the pieces mounted.


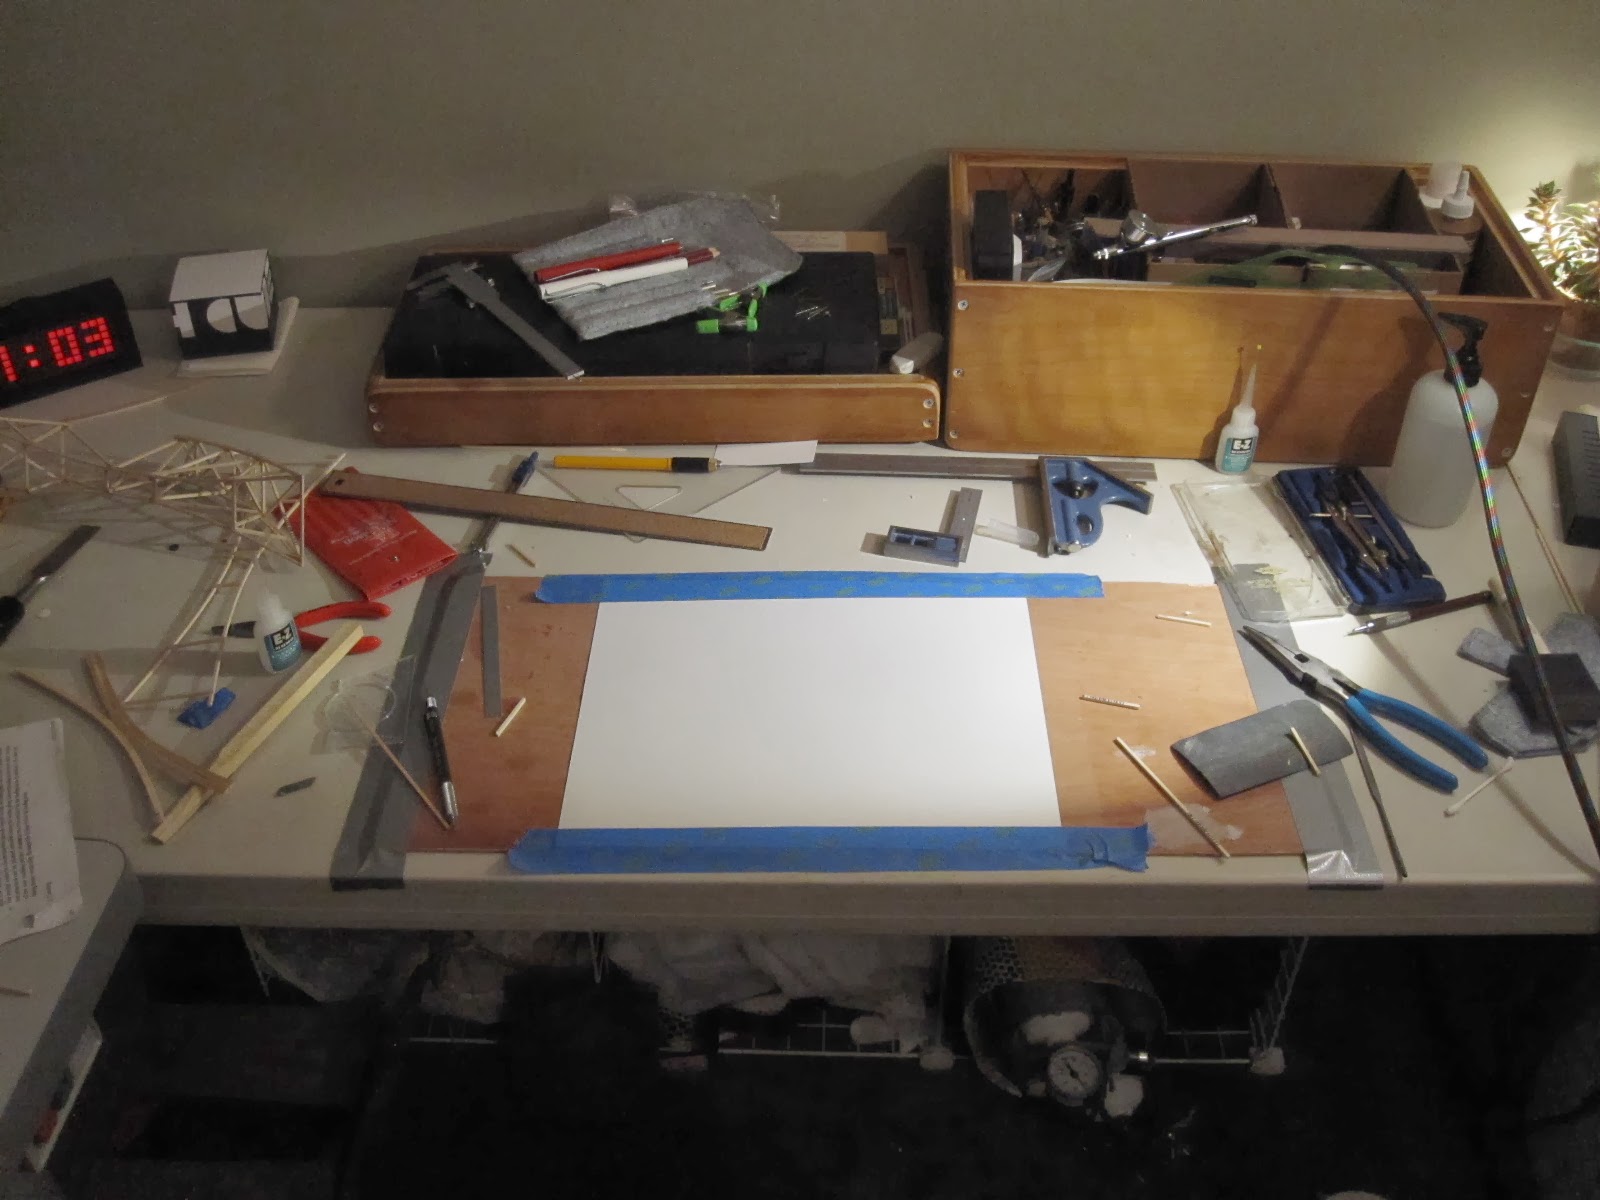
Here is the finished arrangement. Add dramatic lighting, and I can mad-science late into the night:


As for leak testing, the needle was pinned at the same max. pressure for two hours, before I dusted off my keyboard. I don't really care to test it for longer than that... some things I don't want to know.

This isn't just for the airbrush though. I needed it for machining and dusting off electronics too. I made this of an air valve, which uses much less air than a typical blowgun:


The black button on the top makes it go.

I found some other good uses for the airbrush. It can clean glass really well, by spraying alcohol/distilled water onto the dirty surfaces and then blowing the droplets away. It can be used to harden CA glue, by spraying water mist onto applied glue. Lastly, it can apply a very even coat of skim milk as a fixative onto artwork. Many thin coats make a really nice finish, and once the milk dries it doesn't ever go rancid (in fixative quantities anyway).

Friday, May 9, 2014

Crow Wallet

This is the same pattern as the paisley ones. Ornery to sew and they never seem to come out quite perfect. My error is on the right pocket, but the rest is pretty accurate. I think it looks nice anyway, time will tell how it holds up. My needle-feed industrial sewing machine can barely handle the seams on the ends, in that the needle wants to deflect and break.


Y'all's awls are coming along still. One chip at a time. Maybe I'll finish mine in time to repair the wallet when a seam goes, ha!


I used lots of paper shims because the vise isn't very accurate. The awls are though! Pending entries: updated air tank construction, touring recumbent trike for my dad, drawings of an old machine, a flag  for futsal, and the drafting machine.

Friday, April 11, 2014

Awl Mk. III Machining

I haven't posted in a while because I was sick, and wasn't working on any projects. I'm doing better now, and have started making more awls. Two of them are reserved for specific buyers, the third aluminum one will be for sale to anyone. The brass bodied one will be up for sale at a higher price, to be determined. I don't know when they will be finished exactly, but just that they will be finished. They take a long time to make because I'm using very small machines, and I make them as nice and as accurate as I can.

If you'd like to buy one, I'd still be happy to make more. It would probably be four weeks before I could start a second batch.


Wednesday, March 12, 2014

Late Night Construction

I should preface this with, this was not for my sister. I made this one to keep intact, she made a second one for the regional competition herself. I thought the work area looked interesting:


I fixed the tines of an inking compass I got on Ebay for cheap, and here is the result: