Tuesday, January 21, 2014

Bridge Update


Well, she did alright. It held 87 pounds*, and it weighed 16.8 grams** itself. This meant an efficiency of 2350:1. The good news is that this was better than anyone at the school. The bad news is the runner-up's bridge had an efficiency around half of hers, so she's got to make a second one for the regional competition.

*weights from the gym
**scale from the chemistry room

Paper Ball


Saturday, January 18, 2014

Hand Warmers Etc

I made this pattern and sewed these.


They hold bags of rice, which are microwaved to warmth.


The pockets act as insulation, and can be washed if the cold paws are also dirty ones.


Not a stitch is showing. Even the bottom of the liner is hand-stitched so the thread is hidden.


I made this, though I'm not entirely sure why. Inside is nothing but a 7-segment LED module. Unlit, of course.


And some food. Important too.

I gave the honeycomb sandwich another go, this time with some degree of success. Made with strips of corrugated cardboard.


Useful? Eh! I'll know how to make it when I need it, though.

Bridge Building Competition Bridge

My sister Quinn, and I built this bridge for a competition at her school. I made a similar one four or five years ago for the same competition. It wasn't this nice, though. It also had different requirements for design.


She's required to break it since we can't be bothered to make another. I think it'll hold lots of weight though; at least 80 lbs.


The loading point (above).


Almost all the joints are lap joints of some type. There are very few butt-joints. We notched them using a scalpel, needle files, and a jeweler's saw. It's hard to tell all the work that went into it, because you can't tell a lap joint from a butt joint by looking at it from only one side.


Above is a picture of the loading surface, as seen from above. The 3/8" rods go though the bottom of the bridge to connect to the weights on the left and right of the 'canoe.' The loading plate only goes on one side, not both at once.


One photo mid-construction.


Stay posted to see how much this bridge holds.

Wednesday, December 18, 2013

Needles

I found this package of needles in a treadle sewing machine base my grandma bought at a yard sale. I felt like I should photograph the package before it gets torn up in my sewing kit. They've made it a long way.


I also made another paper patterned piece with the ruling pen:


Tuesday, December 17, 2013

Intermission

I haven't been posting often lately because I'm about to move again. I packed up my tools and am avoiding getting too deep into projects. I'm still making things, most are pretty simple though. Here is a felt lightbulb I made. The pattern was sketched out in maybe two minutes. It might show, but it's fun to look at anyway.


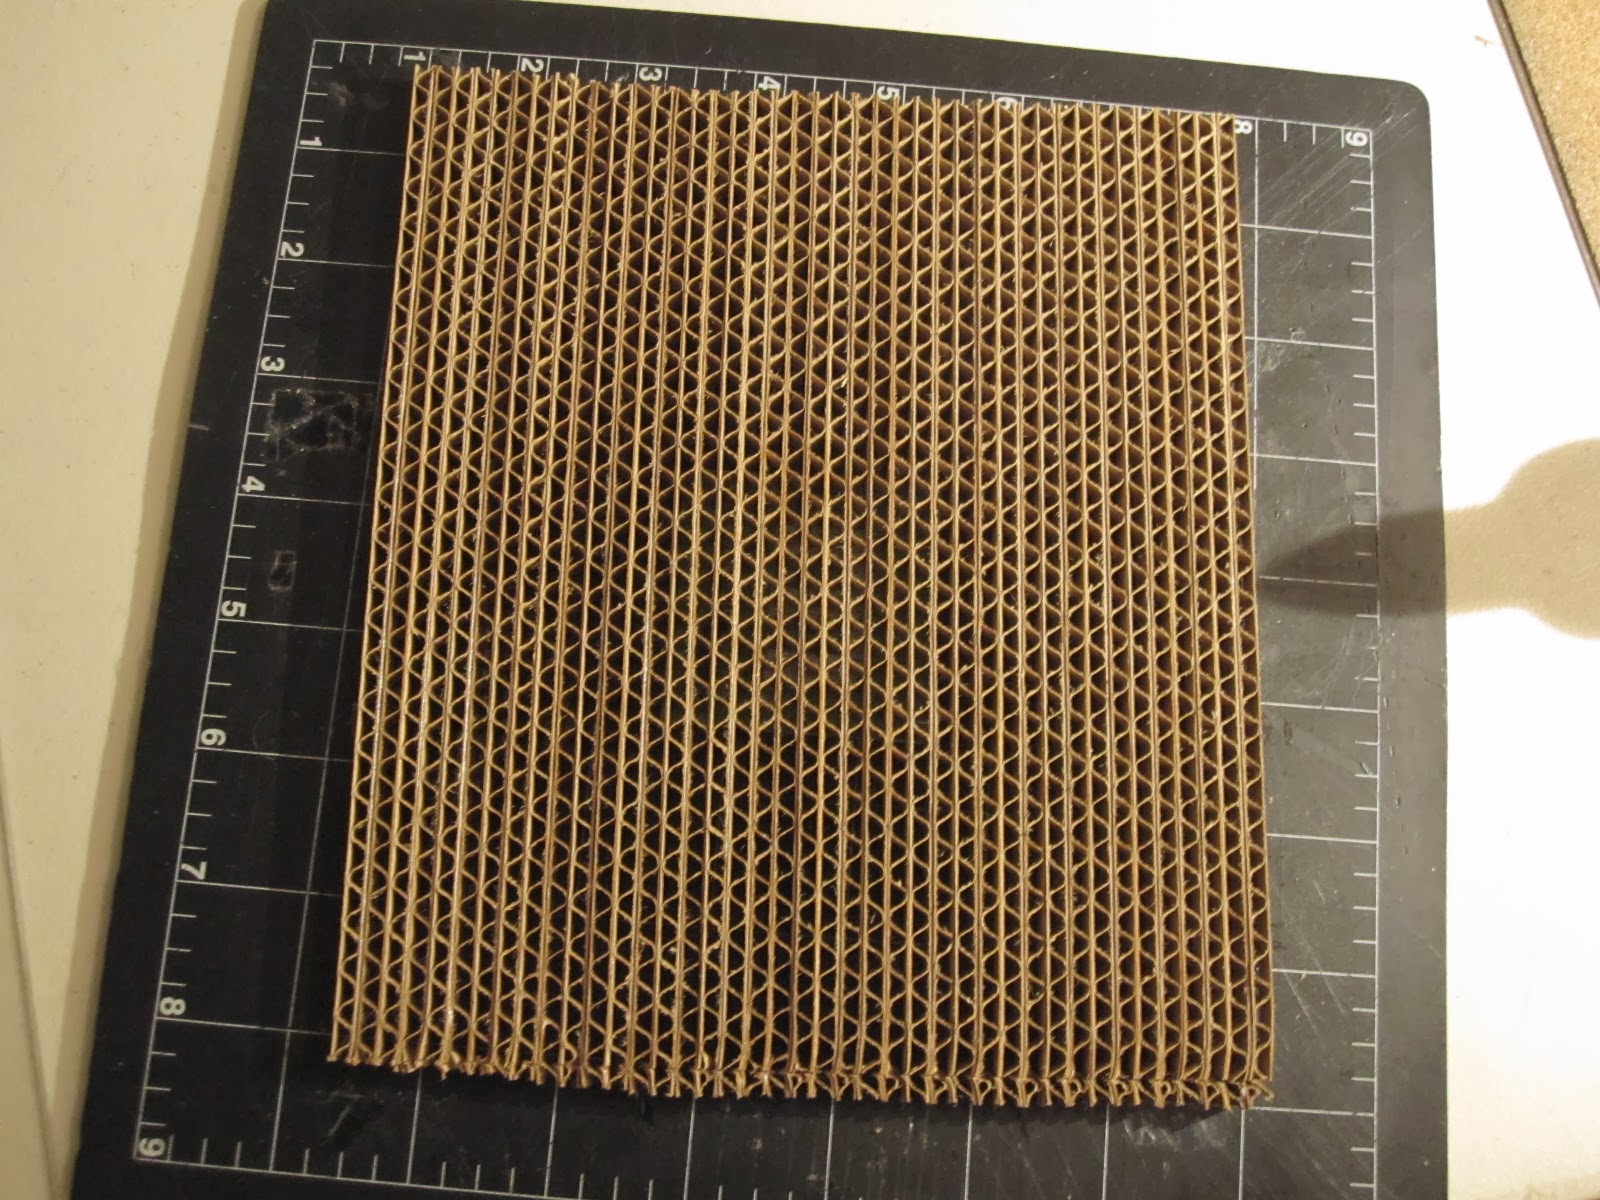
Yesterday I tried making honeycomb paper cells like they use for lightweight laminated structural panels. I cut out a plastic glue stencil which would alternate positions on strips of paper to produce the honeycomb. It didn't work. The glue quantity must be very accurately regulated, and an $0.68 paintbrush wasn't the tool for the job. I thought about airbrushing it on, but I really wasn't keen on the idea of putting glue in the airbrush. Also, If it was thin enough to spray, it would be too thin to fill the gaps between paper fibers. I'll leave honeycomb production to bees and machines.


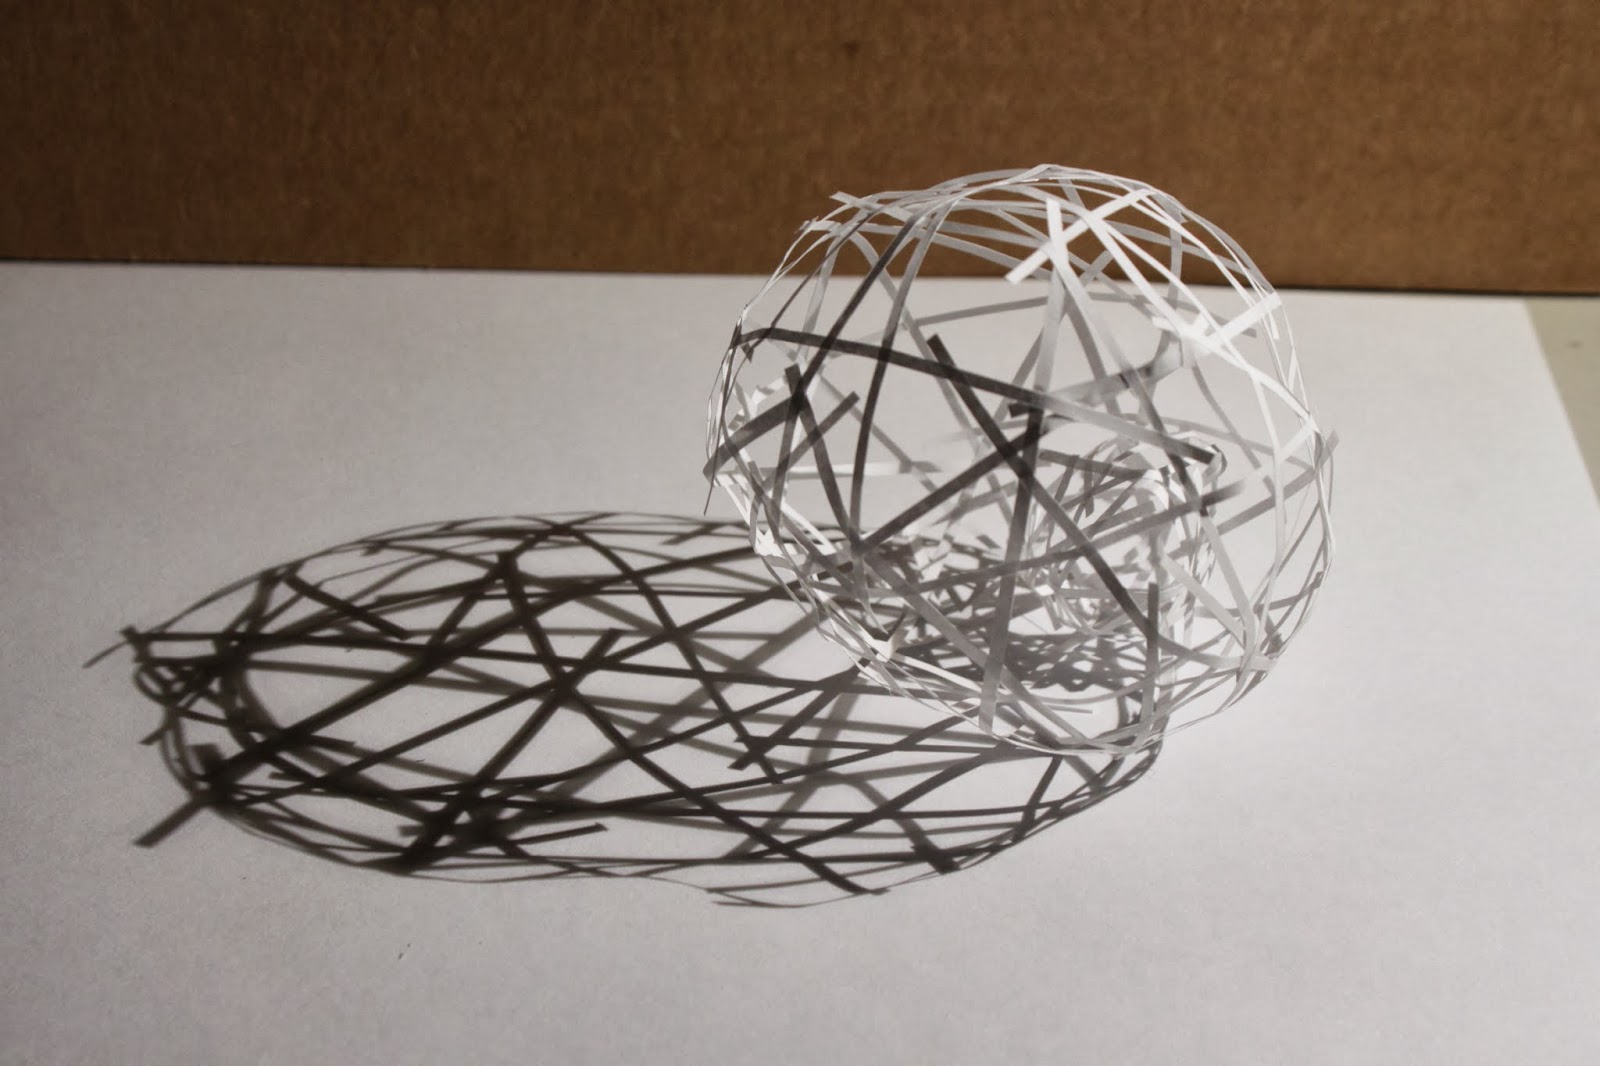
I decided to make the next closest form I could. I'm sure it has a name, but I don't know it. It would probably produce a very strong panel, stronger and heavier than honeycomb. An automated machine that could make this by forming would absolutely blow my socks off. It must be possible, but unless I've overlooked some beautiful elegant solution, it would be a very complex machine. It's a lot more fun to play with when not sandwiched into anything. I drew the lines by hand with a ruling pen. The drafting machine will be perfect for this sort of thing.


A math professor by the name of Will Webber at Whatcom Community College in Bellingham, Washington pioneered shapes based around this construction, if I remember correctly. I met him when I was about ten, and he showed me how to make it.

I don't have any large sheets of paper, so this is it for now.

After I move, I will likely have space for oxy/acetylene apparatus, a bandsaw, a drill press, and a table saw. There are bigger things on the horizon. 

Wednesday, December 4, 2013

Phone Case


There might be a rev. 2 which will eliminate the bare fabric end on the inside. It was cut on the bias though, so it probably won't fray. I tapered the seams on the shell inwards because the seams on the corners of previous versions were awkward and bulky. This works well.