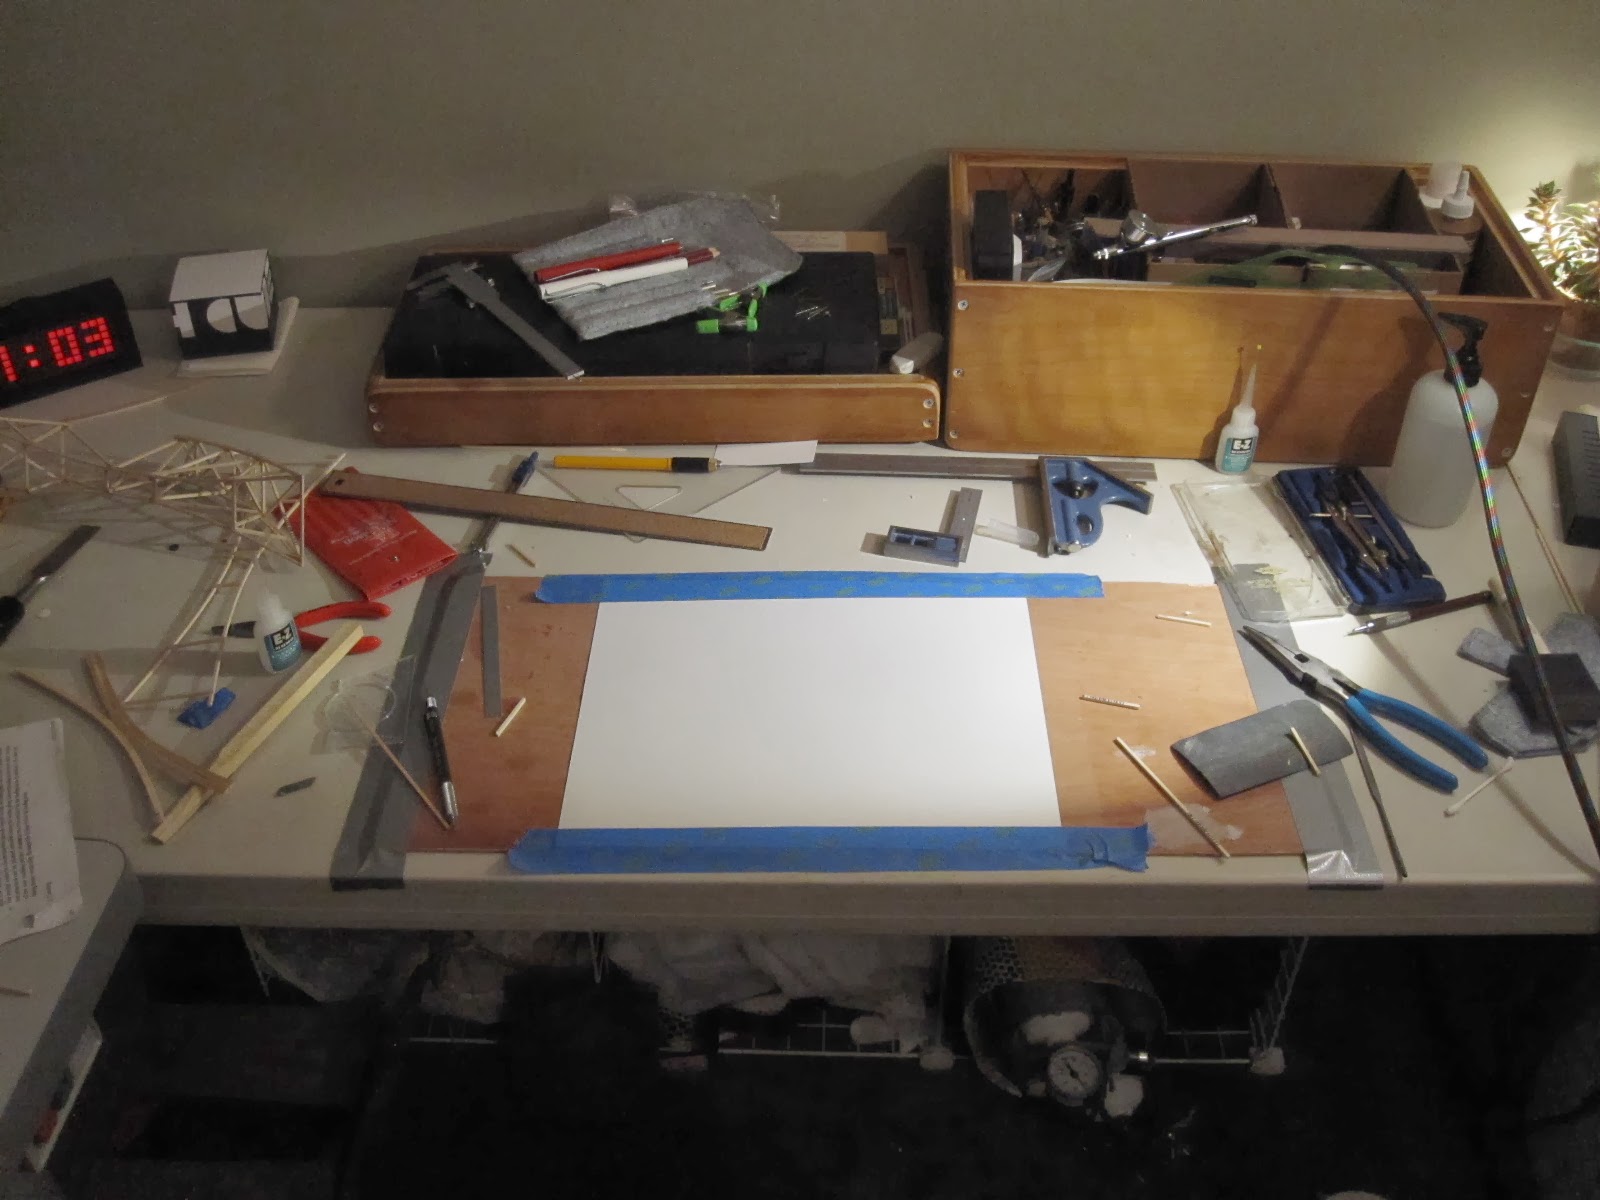
A year ago I wanted an airbrush... and the bike pump clamped to my workbench for clearing chips was looking pretty crude. The small and affordable compressors for airbrushing don't look like they're meant to be taken seriously. So I put together this thing:

It might not look like it's meant to be taken seriously either, but the TSA would probably tell me otherwise! It worked well. Making it was a slight gamble; I didn't know exactly how hard it'd be to fill with the bike pump. There aren't many accounts on the internet of people powering their airbrush themselves. I might end up spending a lot more time pumping than airbrushing, but I assumed I put out more usable watts pumping a bike pump than the little airbrush compressors did. Turns out keeping up with the airbrush is not difficult at all! When I first put the compressor together, I timed the pumping/airbrushing. I forgot the exact numbers, but if I spend an hour with the airbrush I might fill the tanks to 120 psi two or three times. It takes about two minutes and 60 pump strokes to fill once.
The airbrush is an Iwata HP-C Plus which has a small nozzle and likes about 10 psi. If you'd like to try the same thing, keep that in mind. The larger, meaner airbrushes would be much harder to keep up with.
The air tanks are polypropylene, rated to 125 psi, from Andymark. The four of them together contain 144 cubic inches. I thought about making them out of much cheaper PVC or ABS but I wouldn't trust either. 30 psi might be okay, but in that case the compressor would have to be ~four times as big. The filter, ball valve, fill valve, and regulator are rated to 150 psi or more. Max. output of the regulator is 60 psi.
I only had a handsaw and block plane, so the sewn case was the best I could do. It had to lean against something in use. The fittings were brass compression fittings, which was my biggest mistake. They were so fiddly to put together and they leaked. I fiddled and fiddled until finally it passed the bubbles-under-water test. Eight months later it was leaking audibly, and the tubes were deformed at the connections.
It's normal for electric-powered compressors to leak a little. I think of all the aggressively leaking air fittings at work... but the thought of my blood, sweat, and toil silently creeping out into my room was frustrating.
For the rebuild, I didn't mess around. I bought D.O.T.-approved push-to-connect fittings and tubing this time. They are nice. This is the frame. I made it with a jigsaw, router, and drill from some sticks of fir trim that weren't trim anymore. It's sloppy, but not as sloppy as the bag the tanks were in before!
The holes are for securing the tanks and components to the frame with 1/8" nylon cord. The regulator, filter, and ball valve are really awkward shapes. I made brackets for them with foam board from discarded signs.
Here are the pieces mounted.
Here is the finished arrangement. Add dramatic lighting, and I can mad-science late into the night:
As for leak testing, the needle was pinned at the same max. pressure for two hours, before I dusted off my keyboard. I don't really care to test it for longer than that... some things I don't want to know.
This isn't just for the airbrush though. I needed it for machining and
dusting off electronics too. I made this of an air valve, which uses much less air than a typical blowgun:
The black button on the top makes it go.
I found some other good uses for the airbrush. It can clean glass really well, by spraying alcohol/distilled water onto the dirty surfaces and then blowing the droplets away. It can be used to harden CA glue, by spraying water mist onto applied glue. Lastly, it can apply a very even coat of skim milk as a fixative onto artwork. Many thin coats make a really nice finish, and once the milk dries it doesn't ever go rancid (in fixative quantities anyway).